Have you ever wondered how those crisp, clear markings appear on roads and parking lots? The secret lies in pavement stencils. These handy tools make it easy to create professional-looking lines, symbols, and messages on asphalt and concrete surfaces. In this guide, we’ll explore everything you need to know about choosing and using them effectively.
Imagine you’re managing a parking lot or planning a community event. Clear, well-defined markings are essential for safety and organization. Whether you need to paint parking spaces, directional arrows, or handicap symbols, the right stencils can make the job quick and easy. Let’s dive into the world of stencils and discover how they can help you achieve perfect pavement markings.
From property managers to DIY enthusiasts, many people find themselves needing precise pavement markings. These markings ensure safety, organization, and compliance with local regulations. Understanding the different types of stencils and how to use them will give you the confidence to tackle any pavement marking project.
Why Use Pavement Stencils?
Accuracy: Stencils ensure consistent and precise markings every time. This is crucial for maintaining uniformity in parking lots and roadways. Using stencils eliminates guesswork and ensures that all markings are the correct size and shape.
Efficiency: Stencils speed up the marking process. Instead of measuring and drawing each line or symbol by hand, you simply position the stencil and apply paint or coating. This saves time and labor, especially for large projects.
Cost-Effectiveness: Investing in high-quality stencils can save money in the long run. Reusable stencils can be used for multiple projects, reducing the need for frequent replacements. Plus, professional-looking markings can enhance the value and appearance of your property.
Types of Pavement Stencils
There’s a stencil for almost every need. Understanding the different types available will help you choose the right one for your project.
- Material:
- Polyethylene (LDPE/HDPE): These are durable, flexible and resistant to chemicals. They are ideal for both small and large projects.
- Aluminum: Aluminum stencils are strong and long-lasting, making them suitable for heavy-duty use. They are a good choice for high-traffic areas.
- Mylar: Mylar stencils are thin and flexible, perfect for detailed designs. They are best suited for smaller projects and intricate patterns.
- Application:
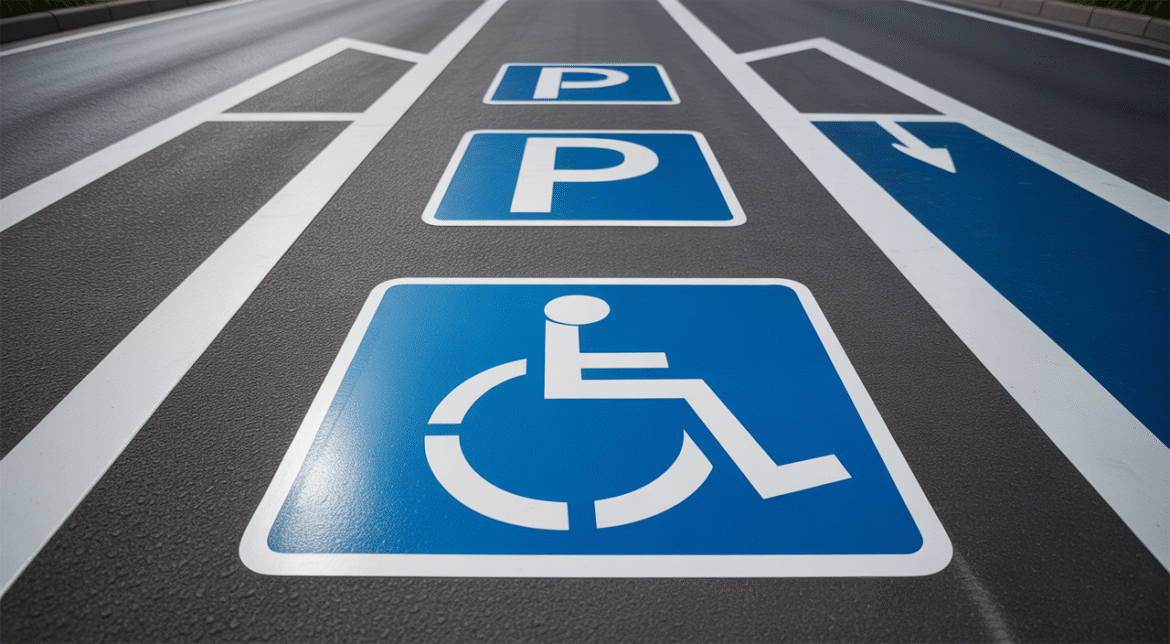
- Parking Lot Stencils: These include standard parking space markings, directional arrows, and handicap symbols. They help maintain order and safety in parking areas.
- Road Stencils: Used for marking traffic lanes, crosswalks, and other roadway indicators. They are essential for guiding traffic and ensuring road safety.
- Custom Stencils: If you need unique markings or logos, custom stencils can be created to your exact specifications. These are great for branding and special events.
- Regulatory:
- Handicap Stencils: Required for designating accessible parking spaces. They must meet specific size and design standards to comply with regulations.
- Fire Lane Stencils: Used to mark fire lanes and ensure emergency vehicle access. Clear markings are crucial for safety and compliance.
Choosing the Right Stencil Material
The material of your stencil greatly impacts its durability and suitability for different applications. Consider these factors when making your choice.
Surface Type: Asphalt and concrete require different types of stencils. For rough asphalt surfaces, more flexible materials like polyethylene are ideal. Smooth concrete surfaces can accommodate a wider range of materials, including aluminum and mylar.
Traffic Volume: High-traffic areas require durable stencils that can withstand frequent use. Aluminum and thick polyethylene stencils are best for these conditions. Low-traffic areas can use less robust materials like thinner polyethylene or mylar.
Durability Requirements: If you need stencils that will last for many years, choose materials that are resistant to wear and tear. Aluminum and high-density polyethylene (HDPE) are excellent choices for long-term durability. Don’t forget to select high-quality traffic paint, which is crucial for durability and appearance, and learn more about comprehensive solutions on our website.
DIY Application Tips
Applying pavement stencils correctly is key to achieving professional-looking results. Here are some tips to help you get it right.
Preparing the Pavement Surface: Clean the surface thoroughly to remove dirt, oil, and debris. A clean surface ensures that the paint or coating adheres properly. Use a broom, pressure washer, or degreaser as needed.
Positioning the Stencil Correctly: Use a measuring tape and chalk to mark the exact location for your stencil. Proper alignment is essential for creating straight and uniform markings. Secure the stencil in place with tape or weights to prevent it from shifting during application.
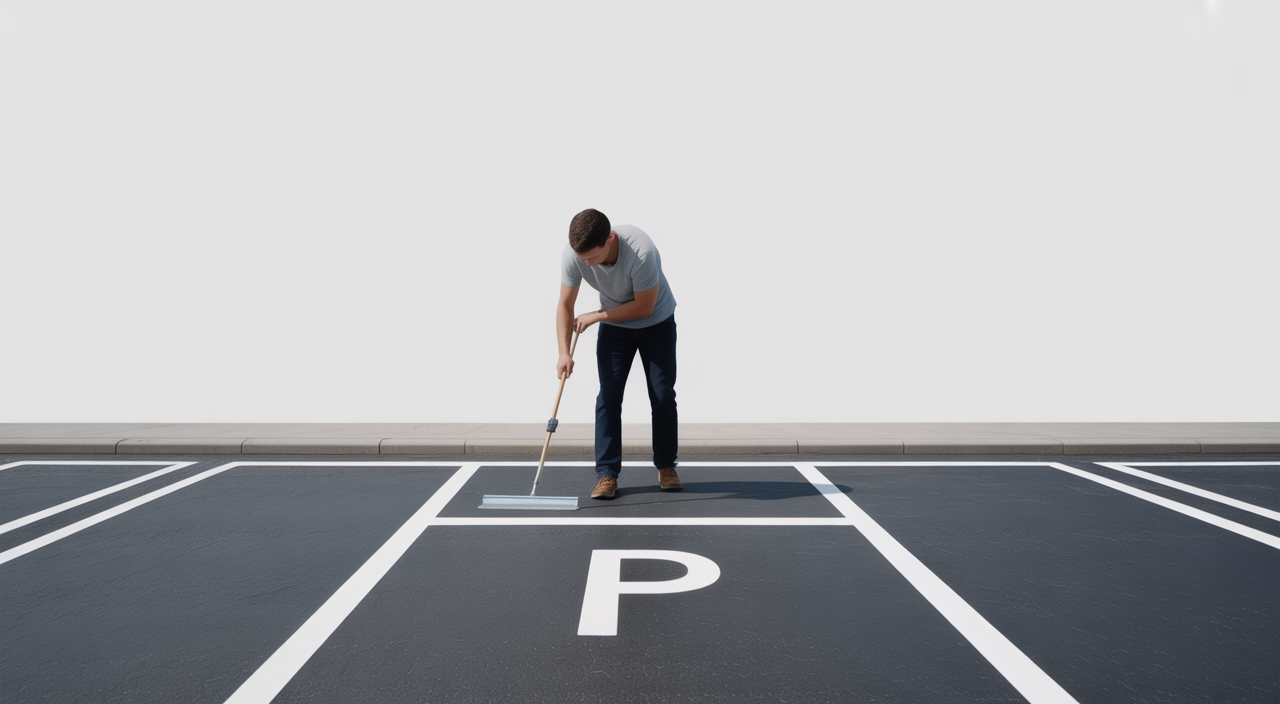
Applying the Paint or Coating Evenly: Use a paint sprayer or roller to apply the paint or coating in thin, even layers. Avoid applying too much paint at once, which can cause drips and smudges. Allow each layer to dry completely before applying the next.
Ensuring Proper Drying Time: Follow the manufacturer’s instructions for drying time. Allowing the paint or coating to dry completely before removing the stencil ensures crisp, clean lines. Protect the marked area from traffic and weather during the drying process.
Maintaining Your Pavement Markings
Proper maintenance can extend the life of your pavement markings and keep them looking their best.
Cleaning and Storing Stencils Properly: After each use, clean your stencils with soap and water to remove any paint or coating residue. Store them flat in a dry place to prevent damage and warping. Proper storage will ensure that your stencils are ready for your next project.
Touch-Up Techniques for Faded Markings: Over time, pavement markings can fade due to weather and traffic. Use the original stencil to touch up faded areas with fresh paint or coating. This will restore the markings to their original brightness and clarity.
FAQs About Pavement Stencils
What is the best type of paint to use with pavement stencils?
Use traffic paint specifically designed for asphalt and concrete surfaces. These paints are durable, weather-resistant, and designed to adhere well to pavement.
How do I prevent paint from bleeding under the stencil?
Ensure the stencil is securely attached to the surface with tape or weights. Apply the paint in thin, even layers and avoid over-saturating the stencil.
Conclusion
Using pavement stencils is a simple and effective way to create professional-looking markings on asphalt and concrete surfaces. By choosing the right stencils and following these application and maintenance tips, you can achieve excellent results that enhance the safety and appearance of your property. Ready to start your project? Explore your options and make your pavement markings stand out!